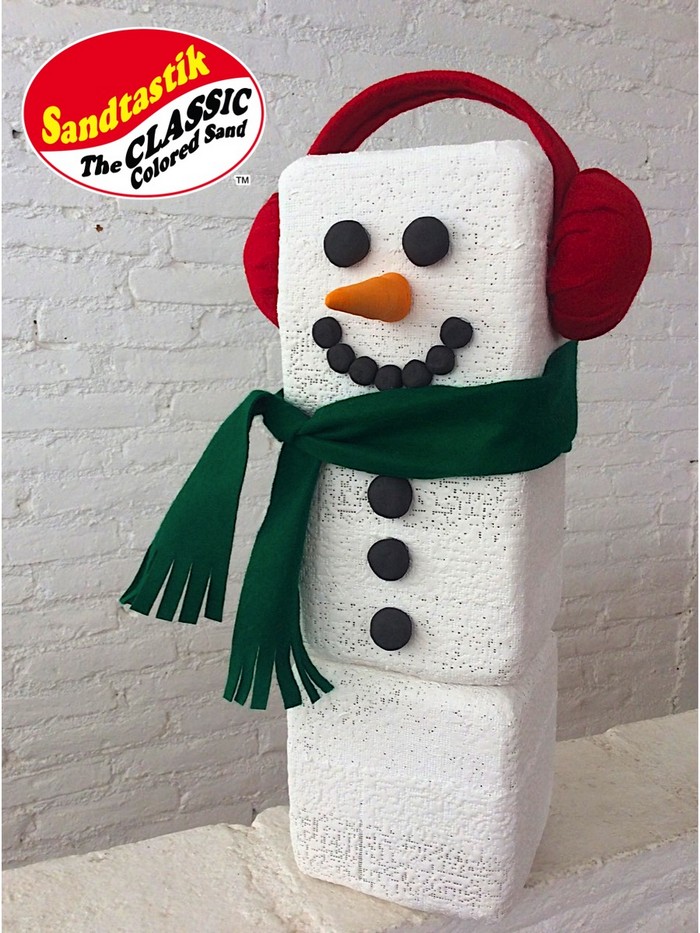
Blocky The Snowman
By Marisa Pawelko
Category: Seasonal Crafts
Summary:
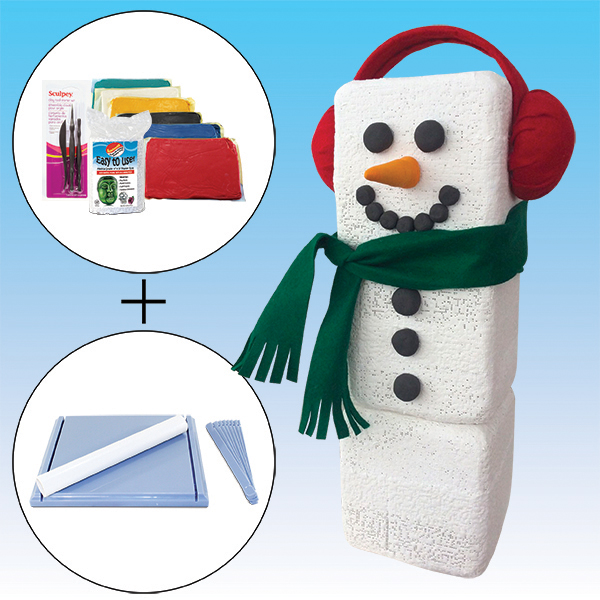
When winter strikes what better way to pass the time than by crafting with Sandtastik’s fantastic creative project supplies! Create your own Blocky The Snowman by taking ordinary Styrofoam blocks and making then extraordinary with Rappit Plaster Cloth! The plaster cloth adds weight and texture to the foam making it nice and sturdy, and ColorPlus Air Dry Clay is the perfect material for accenting your snowman with cute hand sculpted facial features!
What’s Needed:
- Rappit Plaster Cloth
- ColorPlus Natural AirDry Clay
- Activ-Wire Mesh
- Clay Roller Kit
- Clay Modeling Tool
- 3 Styrofoam Cubes
- Styrofoam Sphere
- Hot Glue
- Rubber Mallet
- Scissors
- Tin Snips
- Craft Saw
- Felt
- Toothpick
- Bowl of Lukewarm Water
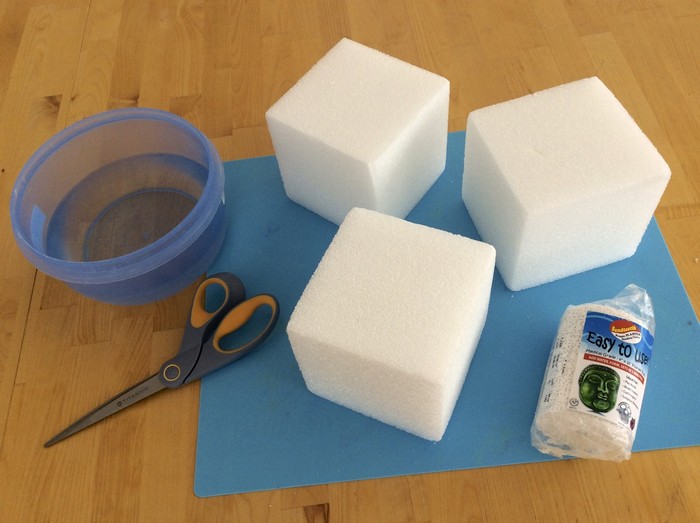
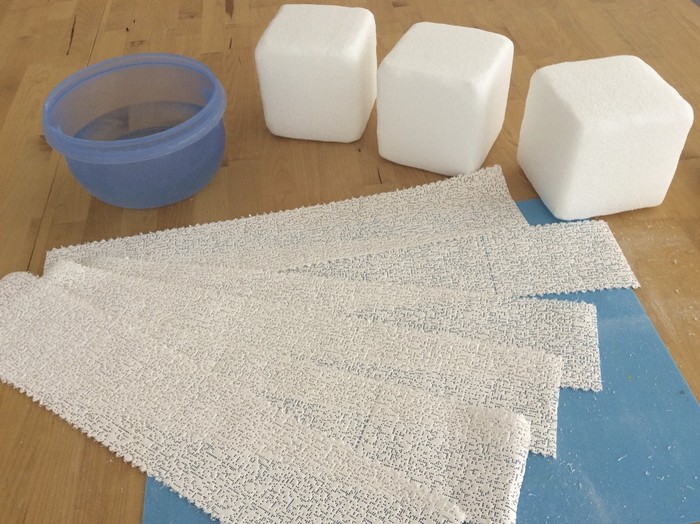
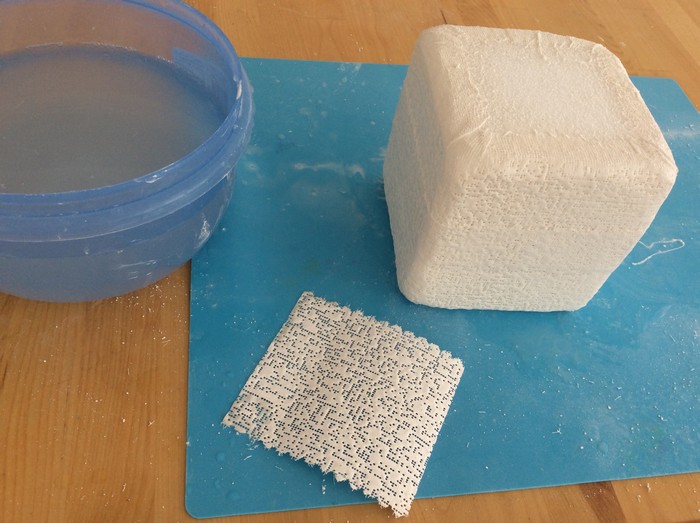
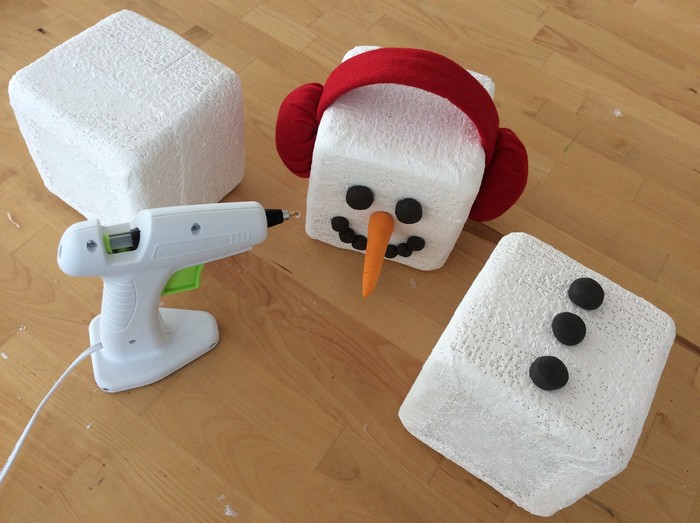
Gather up your supplies as shown.
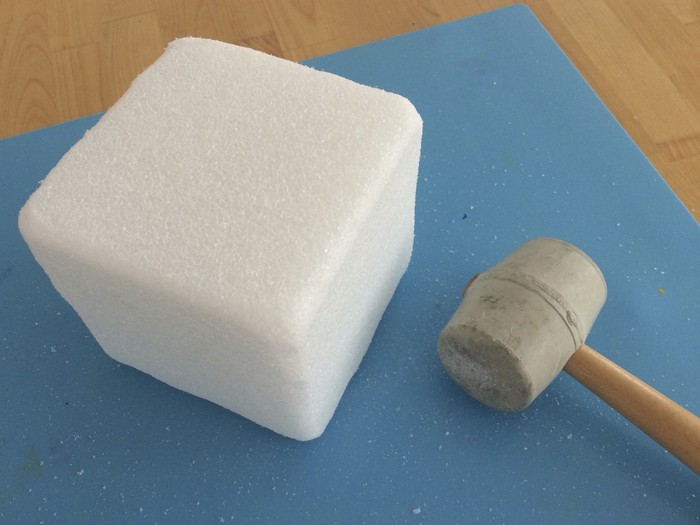
Lightly hammer the edges and corners of the Styrofoam cubes with a rubber mallet. This technique gives the cubes a nice irregular texture, adding to the handmade charm of your snowman’s body.
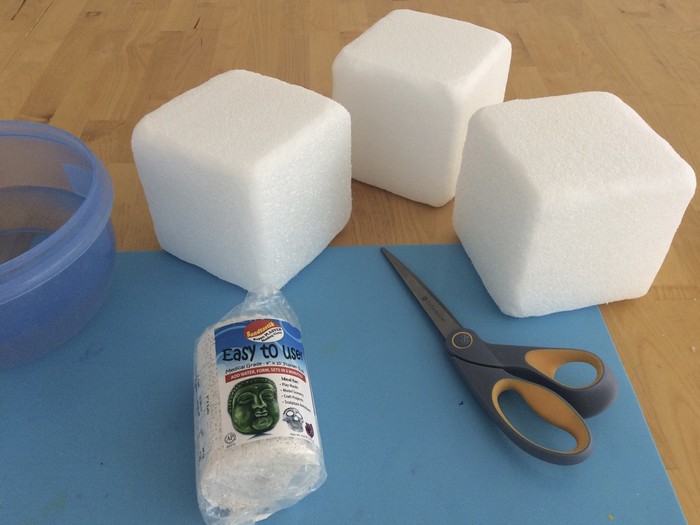
Grab a roll of Rappit Plaster Cloth and fill up a bowl with lukewarm water.
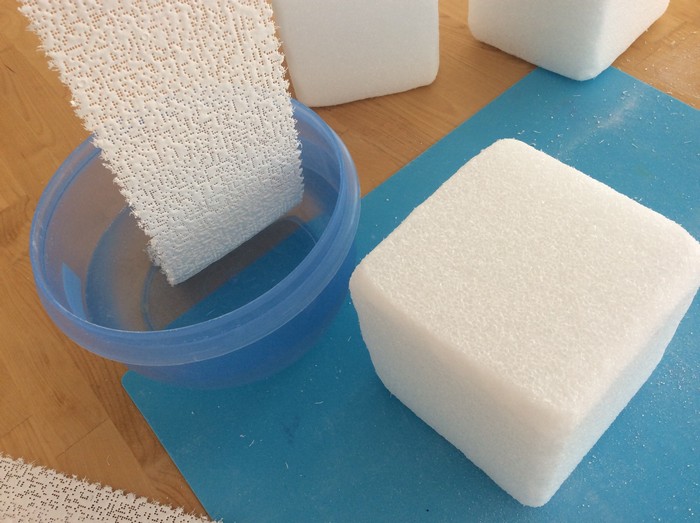
Measure around the cubes and cut several strips of Rappit Plaster Cloth in the appropriate length.
Dip a strip of Rappit Plaster Cloth into the water and wrap it around the block, being sure to extend all the way around the rounded top edge of the block. Because our blocks are wider than the strips, we overlapped multiple strips in order to cover all the sides of the blocks.
Smooth out the sides and corners with your moistened hands.
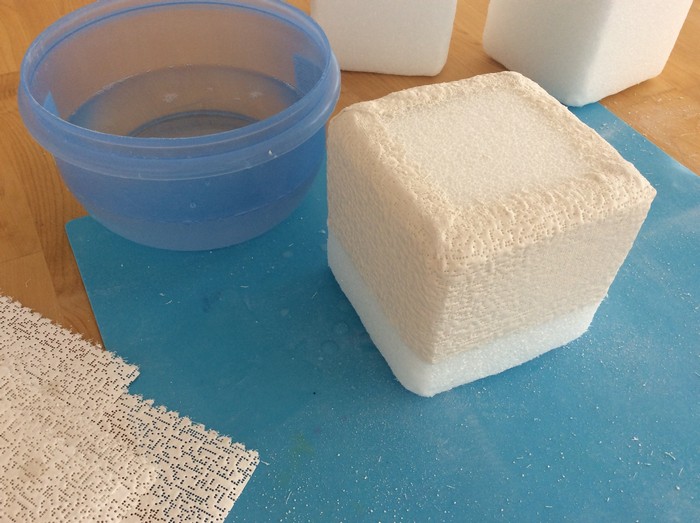
Repeat this process until the blocks are covered on all four sides.
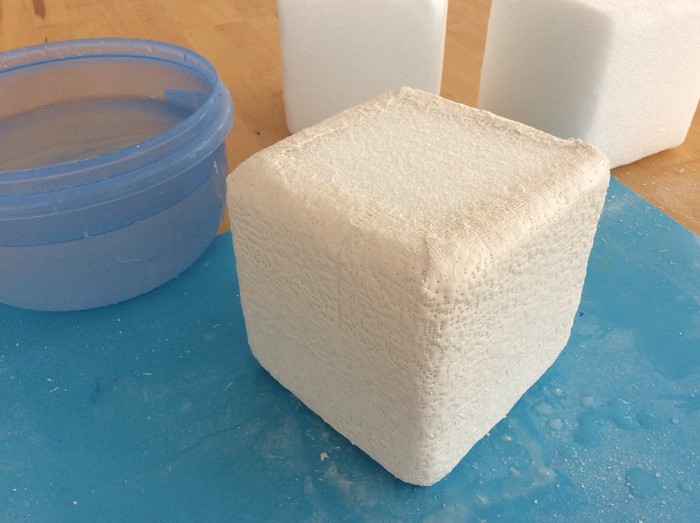
For the block used to create the snowman’s head, cover the top surface with an additional piece of Rappit Plaster Cloth. Then set all three blocks aside to dry.
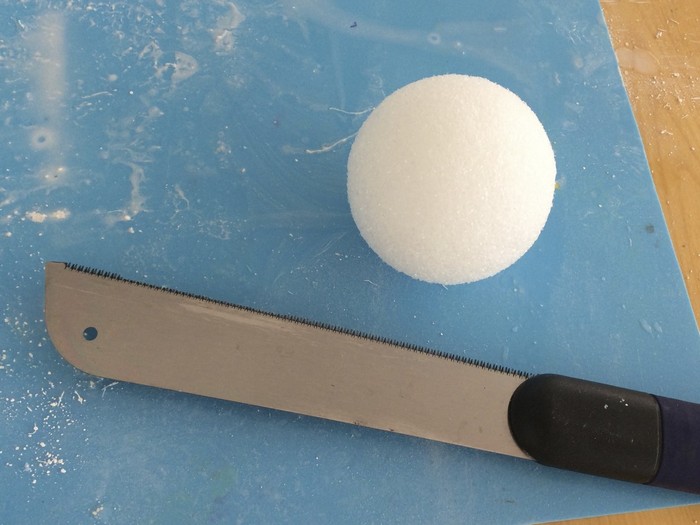
Now you are ready to begin working on the earmuffs! Saw a Styrofoam sphere in half.
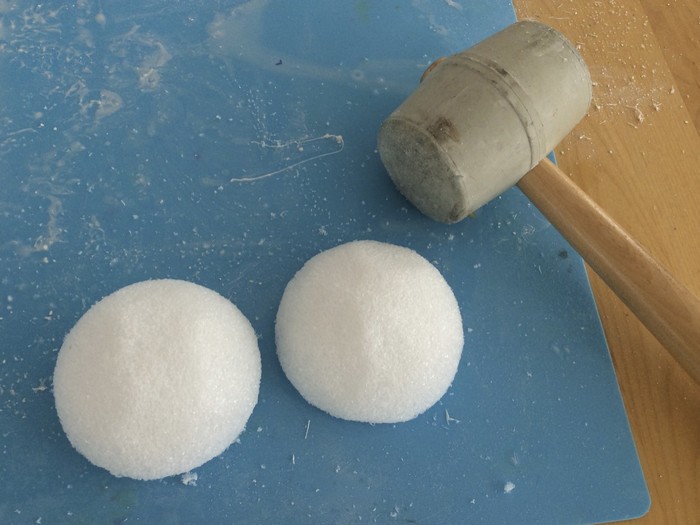
Use the same rubber mallet technique to distress the two pieces of the sphere.
With tin snips, cut a long strip of Activ-Wire Mesh and fold it into thirds. Cut pieces of felt to wrap around the mesh and foam pieces as shown.
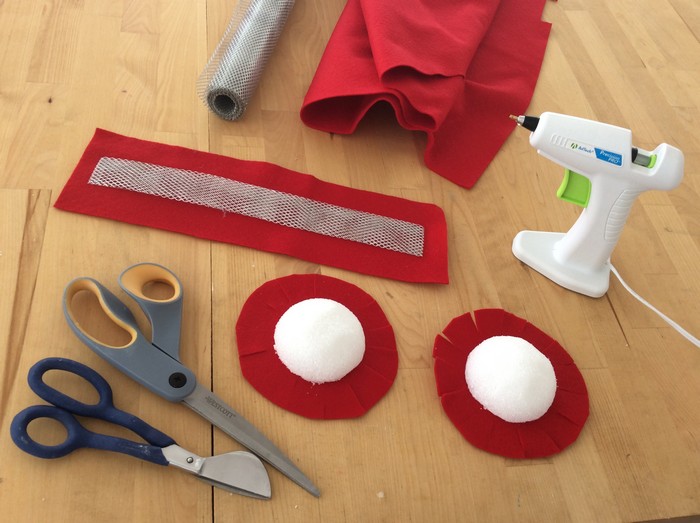
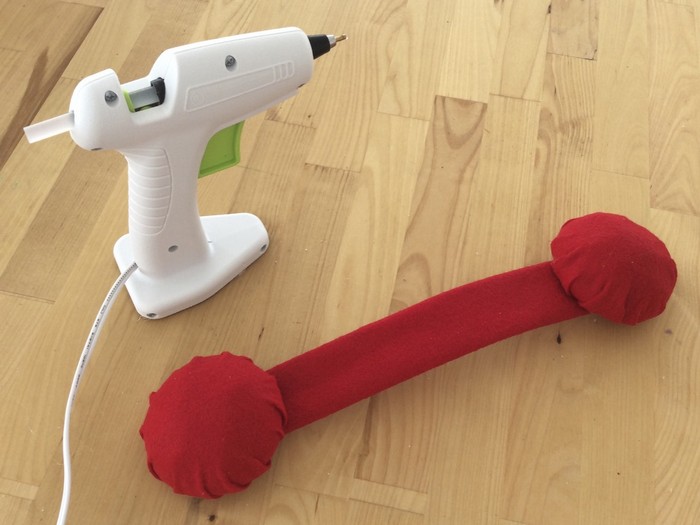
Wrap the elements with felt as shown and secure with hot glue.
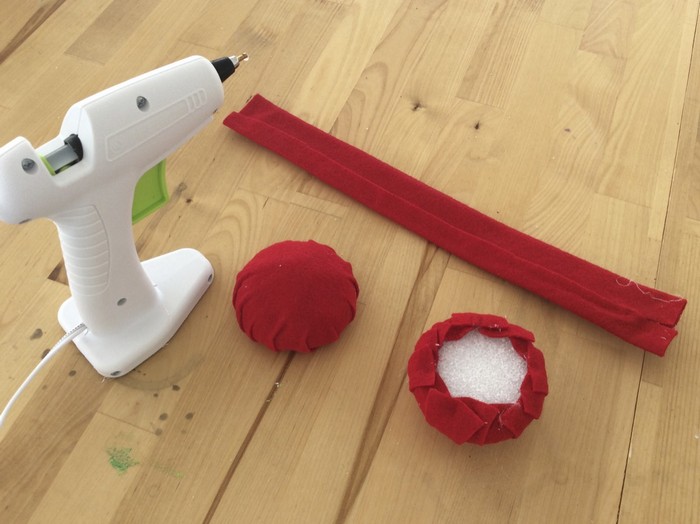
Assemble all three pieces together and secure in place with hot glue. Then set the earmuffs aside to begin working on the snowman’s facial features.
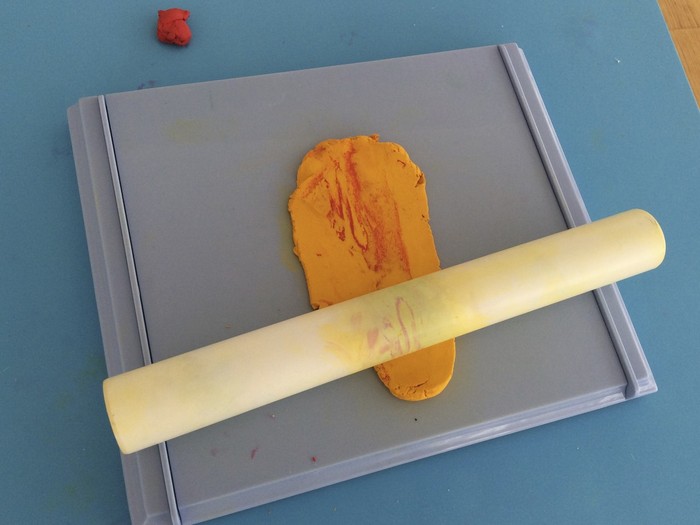
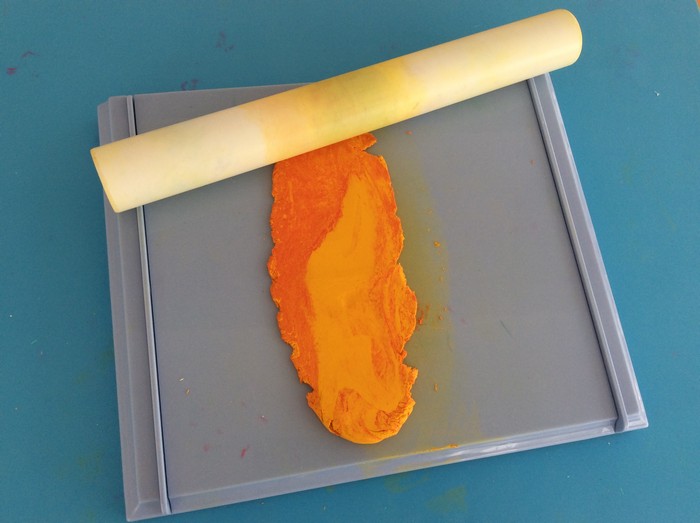
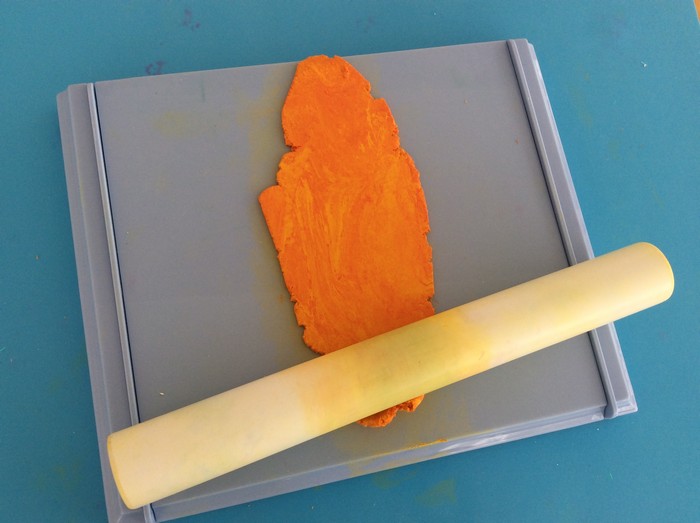
With the Clay Roller Kit, mix a wad of yellow ColorPlus Natural AirDry Clay with a little bit of the red.
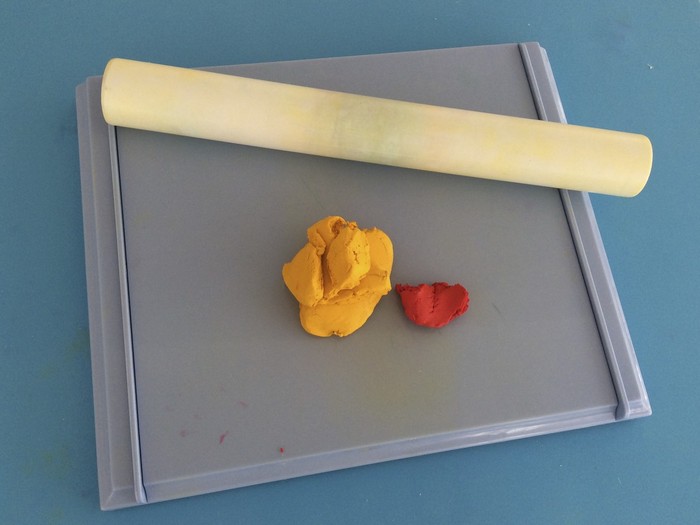
The Clay Roller Kit is perfect for mixing custom colors! Simply mix roll and squish your way to a smooth and fully blended orange hue!
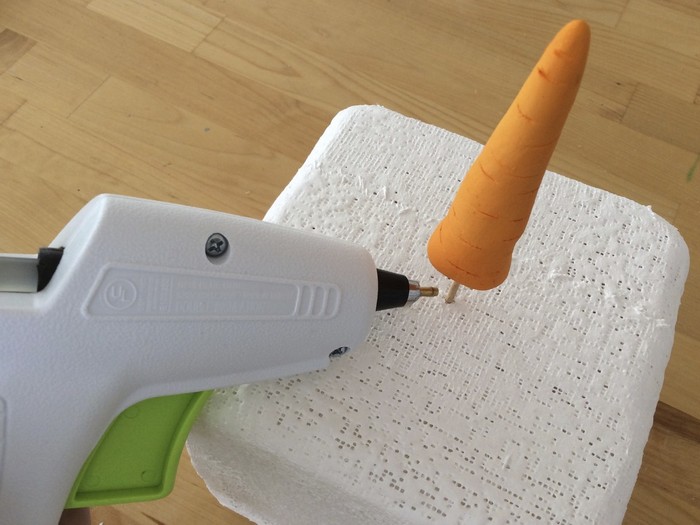
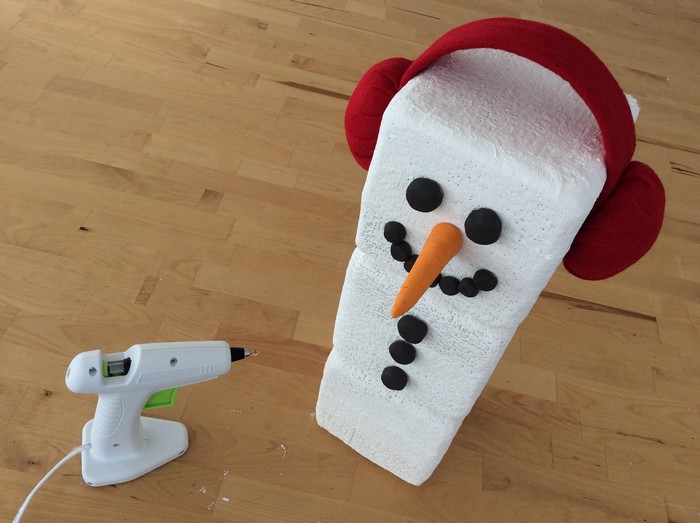
Then glue the rest of the snowman’s facial features in place.
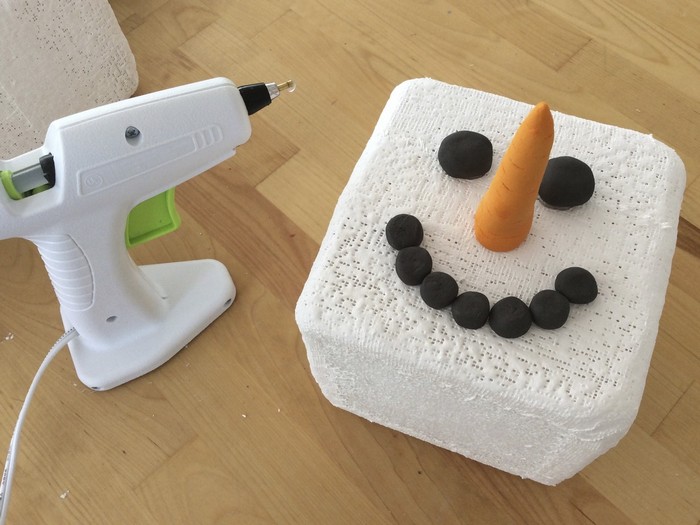
Use more hot glue to secure the earmuffs and coal buttons in place.
Lastly glue the blocks together to form the snowman’s body.
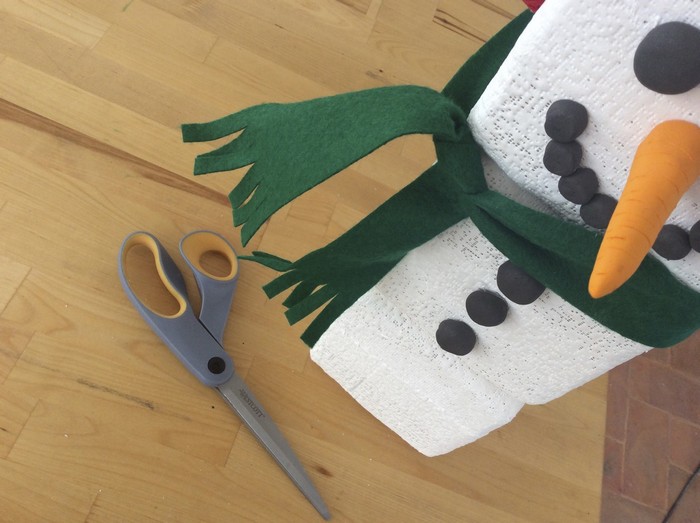
For an extra cute touch, cut a long strip of felt to create a scarf for your snowman. If you’re feeling extra craft you could even knit him a scarf!

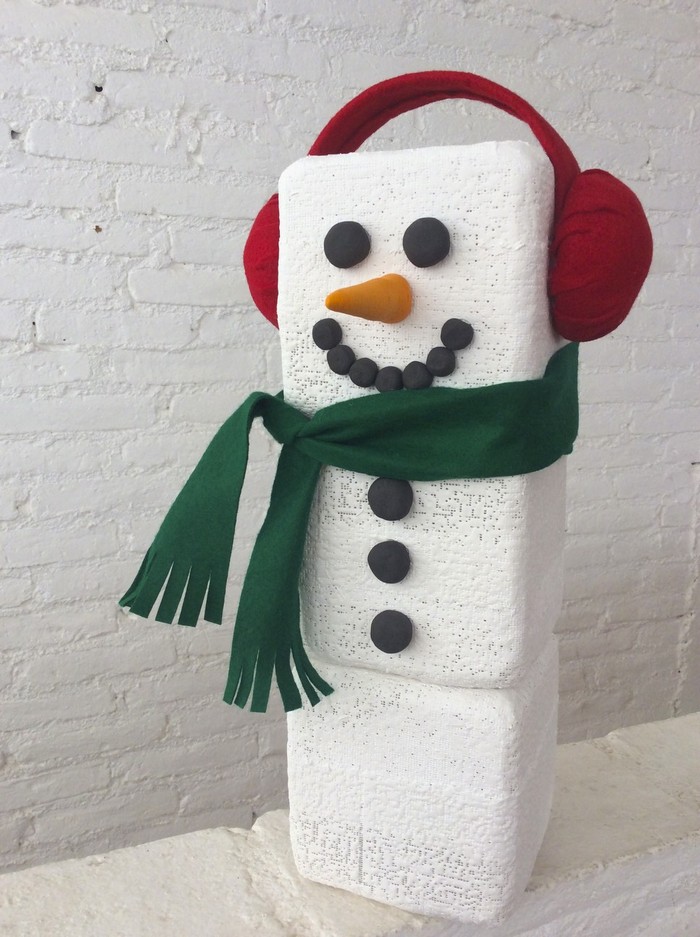
Tie the scarf around the snowman’s neck and then cut fringe strips on the ends of the scarf as shown. Now your snowman is complete! Display him proudly in your foyer to cheerfully greet your guests all winter long!
- ABOUT THE ARTIST -

Meet celebrity crafter Marisa Pawelko, winner of the Craft & Hobby Association Indie Craft Contest and the host of “America’s Next Top Crafter™”. Armed with a formal education in furniture design, Marisa used her talents to design products for the gift, toy, fashion and accessories markets before turning her focus to the craft industry. In 2005, sparked with an idea to create a recycled baby memento-keeper out of one of her son’s baby food jars, she founded Modern Surrealist LLC, which quickly developed an international following. Marisa enjoys inspiring crafters on her blog with thrifty project ideas for “upcycling” ordinary objects, into extraordinary custom creations! Her work has been featured by PBS, HGTV, Illinois State Museum and in countless exhibitions and high end boutiques around the world. Modern Surrealist LLC has been providing customers around the globe with individualized and fantastical gifts, crafts and accessories since 2004. Featuring eclectic themes that celebrate your individuality with humor and heart!
 />
/>